 |
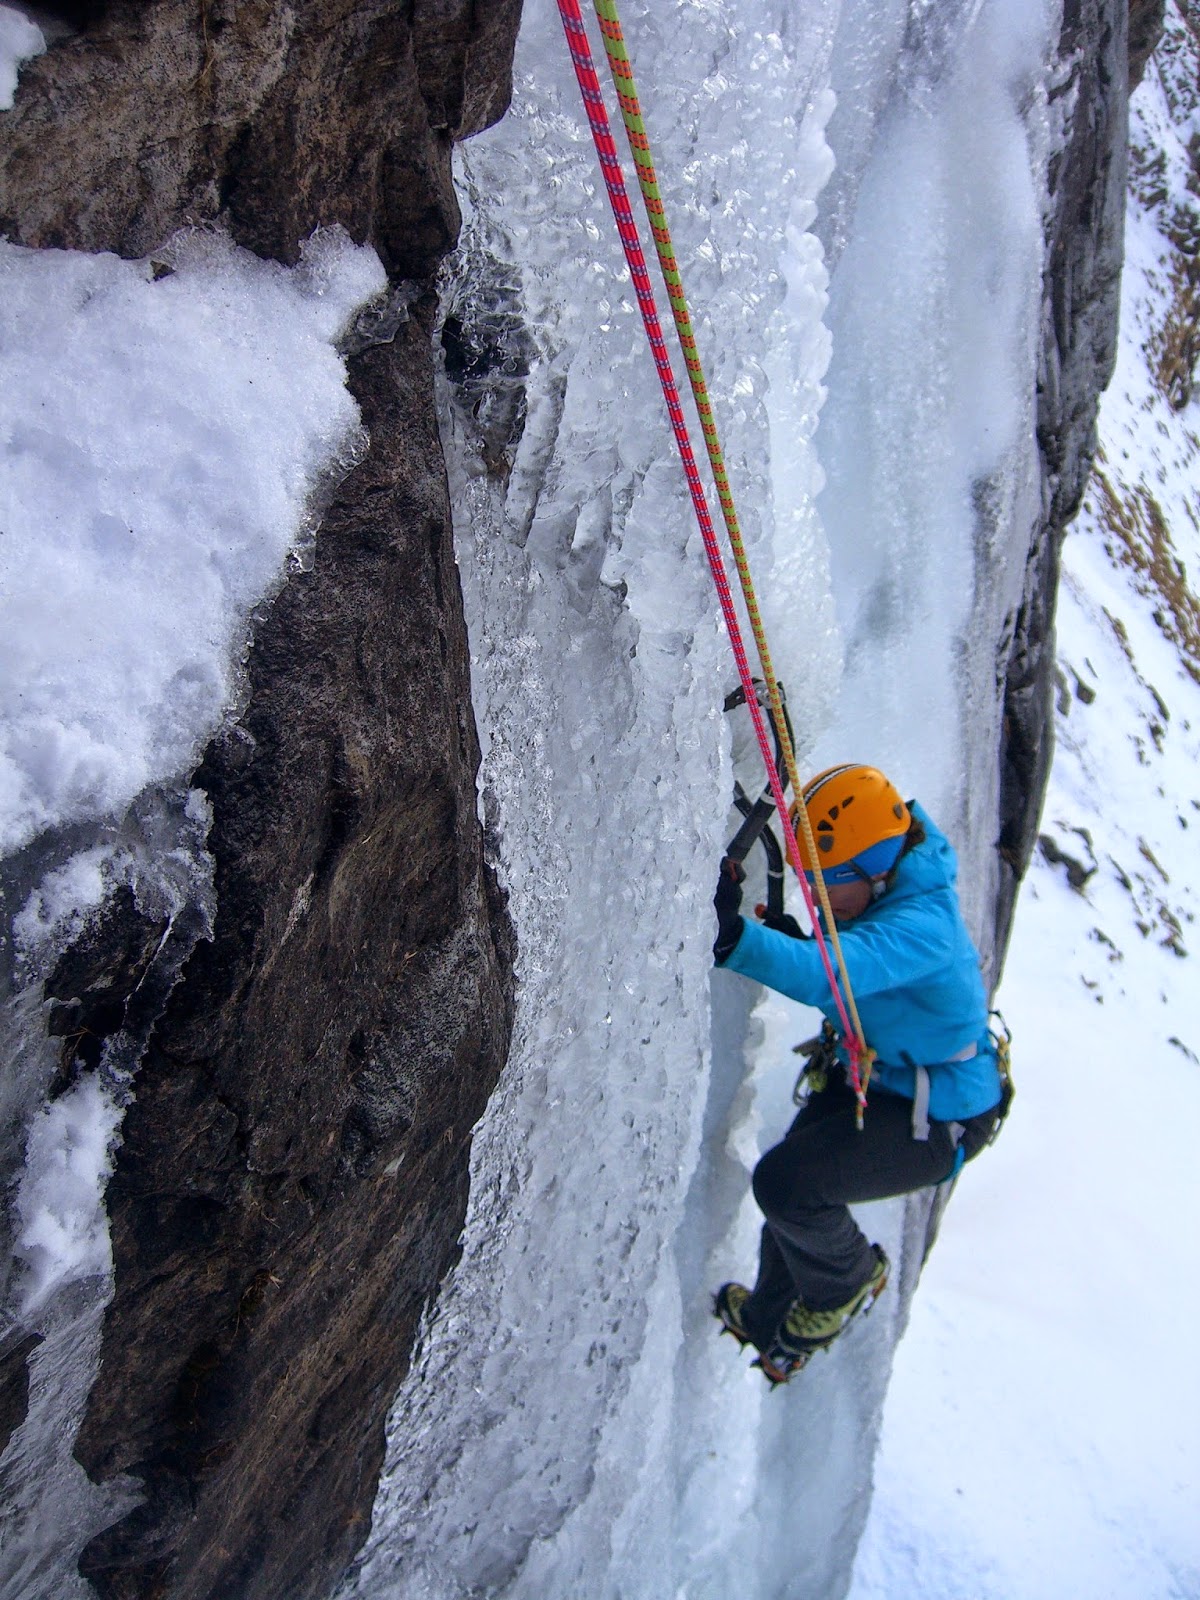
| half-ropes well apart running through protection |
1) climb the physical structure of the ice, as if it were rock - you are using ice footholds and "pick holds" for placements, your tools are extensions of your arms, hands, fingers
2) ropes: keep half-ropes apart - there is an independent left & right side rope, they should never cross
3) rope tangles happen when the ropes wrap around each other through twisting (bad rope management while lead climbing) or by pulling the rope stack out from the bottom when rappelling (or not switching leads) and/or stacking ropes together
4) never rappel when you can walk-off (standard mountaineering practice), it is far safer to walk-off, faster and warmer as you are continuously moving
5) don't climb ice like its a ladder - you have to use too much body tension to maintain balance & keeping from "barn dooring", plus it is way too strenuous when the ice steepness to vertical and your feet are not stable
6) trouble removing your tools? you are not moving your feet up high enough, they are not level with each other and you are not fully standing up. you are too extended with your arms and therefore can't remove your tools in an upward trajectory using the top of the pick (it's sharp, right?) to slice the ice
7) ice bulges of all types and sizes are off-limits for tool placements and setting ice screws
8) use small little divots and larger concave forms in the ice surface for crampon and tool placements, as well as setting ice screws (it's also cool to use an old pick placement hole to set an ice screw - the pick hole acts as a starter hole for the screw)
9) your elbow should not be outside the head of your tool when you swing
10) there is a grip for swinging your tool and a different grip when you use the tool as a hand hold as you move your body upward
 |
| hands staggered, heels down, watching feet = solid & secure |
Okay, I'm on a roll so here are a few more ...
10+1) use the concave/opposing forms of runnels, "open books", in-between tubes, etc., to stem out on with your feet
10+2) move your feet three to five times for each tool placement, ending with the feet wider than the hands and horizontal
10+3) one tool is always higher than the other, your feet are parallel once you complete the cycle of the climbing movement
10+4) always strive for a one-swing "stick", throw the head of the tool, snapping it into the ice with your wrist - you need to be loose in order to generate speed
10+5) do not use material from the leaders rack to build the belay: you need one long (19cm - 22cm) ice screw as the main focal point of the anchor, and preferably a second 19cm screw as your second belay point for the back-up. Do not use up shorter slings, quickdraws, shorter screws. If you feel you need to use a 13cm screw at the belay, you're setting your belay up at the wrong place.
10+6) it is far better to climb a shorter pitch (ca. 30 to 40 meters) as a beginner than try to run-out the full length of the rope - you will be faster and stay warmer as a rope team
10+7) flex your ankle bringing your toes up, kick with a loose knee joint (generating speed) creating a pendulum-type swing with your foot following an upward trajectory into the ice - watch your foot all the way until your foot placement is bomber
further reading and info:
Will Gadd's book on Ice & Mixed Climbing,
http://www.amazon.com/Ice-Mixed-Climbing-Modern-Technique/dp/B001F1V8Y0
Will Gadd's blog - http://willgadd.com/blog-grid/ (go back through the blog posts to get a lot of insights)
Jeff Lowe's book - it is still amazing what was done by him and those of his generation,
http://www.amazon.com/Ice-World-Techniques-Experiences-Climbing/dp/0898864461
Art of Ice Climbing, from the Chamonix company Blue Ice - the newest and most valuable book on ice climbing to come out recently,
http://www.blueice.com/products/en/books/27-the-art-of-ice-climbing-9782954087917.html
No comments:
Post a Comment